I have seen this same error appearing every now and then, and decided to look into this a bit closer. I found this article https://learn.microsoft.com/en-us/power-automate/desktop-flows/images that states:
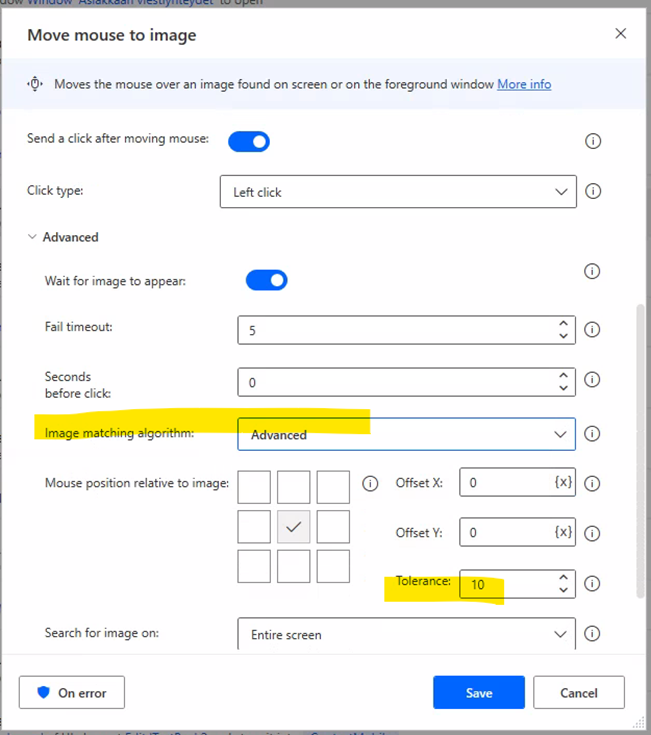
In the advanced settings of these actions, you can select which image-matching algorithm you want to use. The Basic algorithm achieves better results with images less than 200×200 pixels, while the Advanced algorithm is more effective with bigger images and more robust to color changes. The Tolerance field defines the acceptable amount of differences between the provided image and the image is compared with. High tolerance values may affect the precision of image recognition.
Based on this description, it makes sense almost always just to use the Advanced-setting. What’s also interesting is the Tolerance field that I had not realized even existed. That might be useful in some use cases. Maybe.